
Have you ever wondered how a little tree is turned into a pair of wooden sunglasses? It needs more human effort than you have ever imagined. So, when someone says “handmade sunglasses,” he or she means it. Many people have done lots of research and spent a lot of time understanding how to make wooden sunglasses by using only woods, not any prefabricated materials. In this article, I will share the method that you can use to build your sunglasses and some of them you may wear every day in the office or when going out!
Why should we go for wooden sunglasses instead of plastic ones? Well, we all know that wooden sunglasses are environmentally friendly. Besides that factor, there are other reasons for choosing wooden sunglasses.
– Wooden sunglasses are lightweight and comfortable to wear with any outfit.
– Wooden sunglasses are also great for people who have allergies.
However, you can use a few manual tools, and you will need so much determination and patience to make perfect wooden sunglasses. You can make them fulfill your passion, or you can build your own business from that. You can achieve perfection by trying and trying over time. You may make mistakes, but don’t be upset. And the question you must have in your mind is that if other people can do that, you can also do this, not rocket science. You may build a machine with a lot of satisfaction, but besides that, it is also true that making a product with your hands is satisfying as well. Without further ado, let’s check out how you can make wooden sunglasses!
Step 1: Building the Front of the Glass
You can try different construction methods from grinding with CNC to the manual construction of bent plywood. As per mechanical strength, the plywood is made with cross-veneered coatings, or layers wins the milled block for causes of the wood grain.
You have to know one essential aspect – you need to know how to keep costs, and a CNC is very costly. Gluing layers of the veneer is a very inexpensive method and within reach of all. The only essential and essentials tools are a wooden shape, clumps, and brush. The process of gluing cross-veneer veneers will allow you to work a lot with fantasy since combining woods might get more beautiful themes.
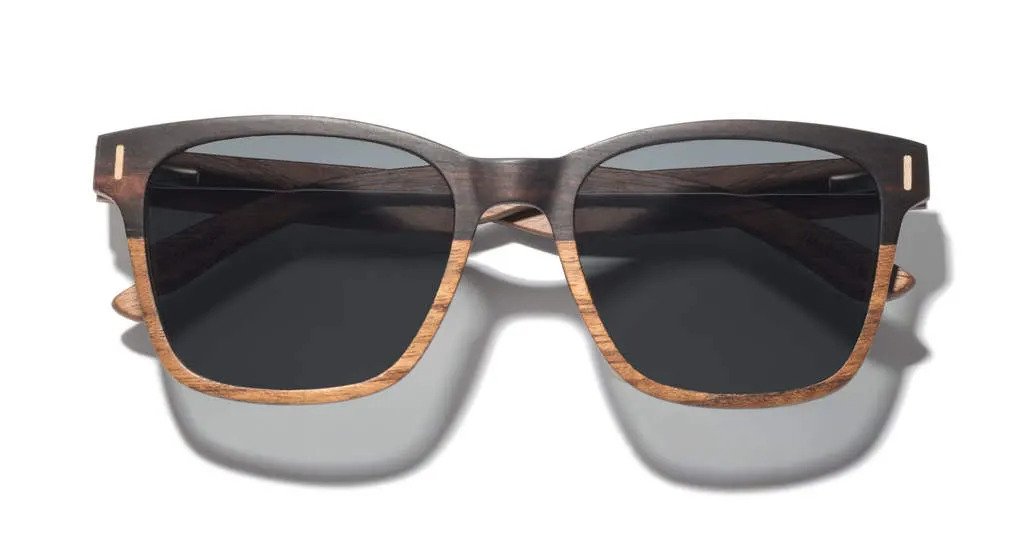
The glass will look unique when you insert a dark soul into a light wooden frame. The front needs to be shaped by eliminating the redundant parts after solidifying the glued coatings.
Step 2: Mold the Front Face by Hand
Imagine now you are sitting in front of curved wood, and you need to draw an asymmetric shape over it. But how will you do that? If you need to copy model glasses, then it might be enough to remove the lenses, place it on the curved shape and then use a pencil to follow the outlines.
Instead, you can make the print of the silhouette of a frame on a white paper. Cut it across the lines, and place it on the curved shape that we earlier created.
After imprinting on the curved wood, first, you need to remove the extra parts by using holes and then using a blade or tunnel, and, lastly, to use an electric tool with a roll sandpaper cylinder.
Step 3: The Bevel
The angle is very vital because it is required to grasp the lens. It needs to be carved in the width of the frame.
A tried and tested method to make it is using cutter on the floor and turn round with the inside of the frame. When the cut is finished, you will have to unstiffen it by hand with a ball head cutter. Using an excellent glass paper, you need to round off all the ends.
Step 4: Build the Rods
For the structure of the stands, the system or method is identical as used for the front. It is also possible to copy the pattern from ready-made stagnates or to create one’s form. Fantasy is the only limit in this regard.
Step 5: The Hinges
This might be the most delicate and difficult part. It isn’t easy to install the hinges and getting a frame in the squad. It will also be traceable when the glasses rest on the nose if the hinges are mounted curved. You can try three-hinged mounting techniques.
- Hinges made by hand
- Finger join hinges
- Metal hinges for eyeglasses
Number 3 is more reliable. Screwing metal hinges is a complicated task. Here you may have inaccuracy, and then mount them out of the squad.
Building zeroes from the beginning is fun and straightforward. You may glue four layers of beech veneer; you can also draw them over the hinge outlines. Using a small manual saw, you can divide it roughly then slowly level it up to reach the illustrated form.
With a small drill, you can make the seat of the hinges both on the opposite and on the stents. On the front, create two seats and one on the stand. Insert photos of the other types of pivots that you have tried.
Step 6: Get a Small Sander
Sometimes the need to make a thing drives you to create other stuff to help you achieve the purpose.
In this case, you will need a small, weak disc sander, and rather than buying one, you may arrange with what I have at home. An old hard drive would be good enough. Fixing a glassy disc on the plate within 5 minutes will give you a picture-perfect working tool for flattening small surfaces like the tiny hinges you may make to support the eyeglass sticks. It is handy and is not unsafe for your fingers.
Step 7: Fitting the Lenses
You might find it difficult to shape the lenses, so you may need to buy frames from the optical shop. And then your job is done.
Lastly, I hope this article will help and inspire you to build your custom wooden sunglasses.


